A Descriptive Guide to Using Self-Signed Certificates on Localhost Proxies
 Written
By
Puspendra Kumar
Written
By
Puspendra Kumar
Reading time: 4 minutes
When it comes to creating or testing web applications locally, you might need to manage HTTPS traffic through a proxy. This is where self-signed certificates come in. They enable you to create a secure connection between your browser or application. And the proxy server is operating on your machine even when no official certificate authority is involved. In this post, we are going to discuss everything you need to know about self-signed certificates on localhost proxies, what they are, why they are used, and how to configure them safely for local environments.
Self-Signed Certificate: What Is It?
A self-signed certificate is an SSL/TLS certificate that's signed by the same entity that created it, instead of being validated by a trusted certificate authority. In simple terms, you can understand that it's a do-it-yourself digital certificate used to encrypt communication between a client, like your web browser, and a server, like a proxy.
Generally, when you visit a secure website, for instance, https://www.example.com, your browser checks whether the site certificate is issued by a renowned CA or not. However, in a local development setup, you don’t need a publicly trusted certificate since your environment is private. This is why developers often create self-signed certificates; they offer encryption without depending on an external CA.
Why Should You Prefer a Self-Signed Certificate for a Localhost Proxy?
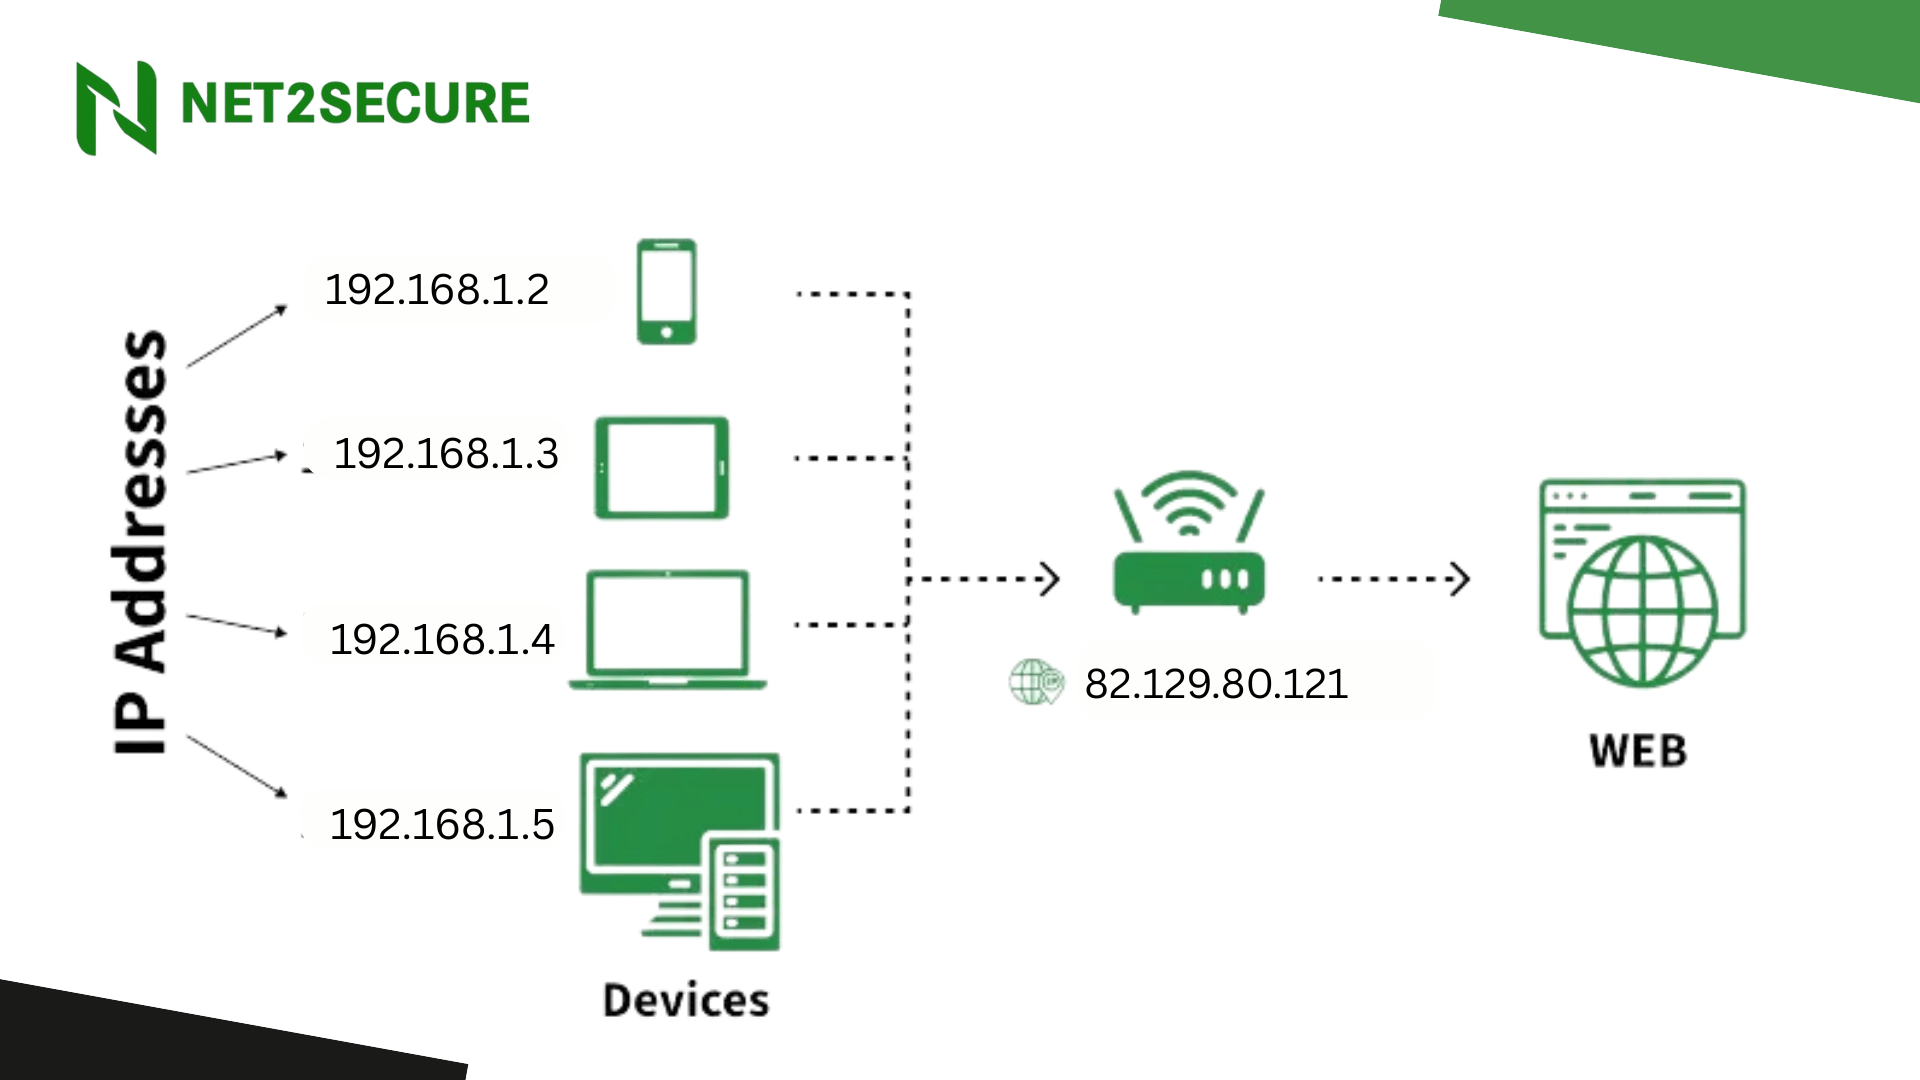
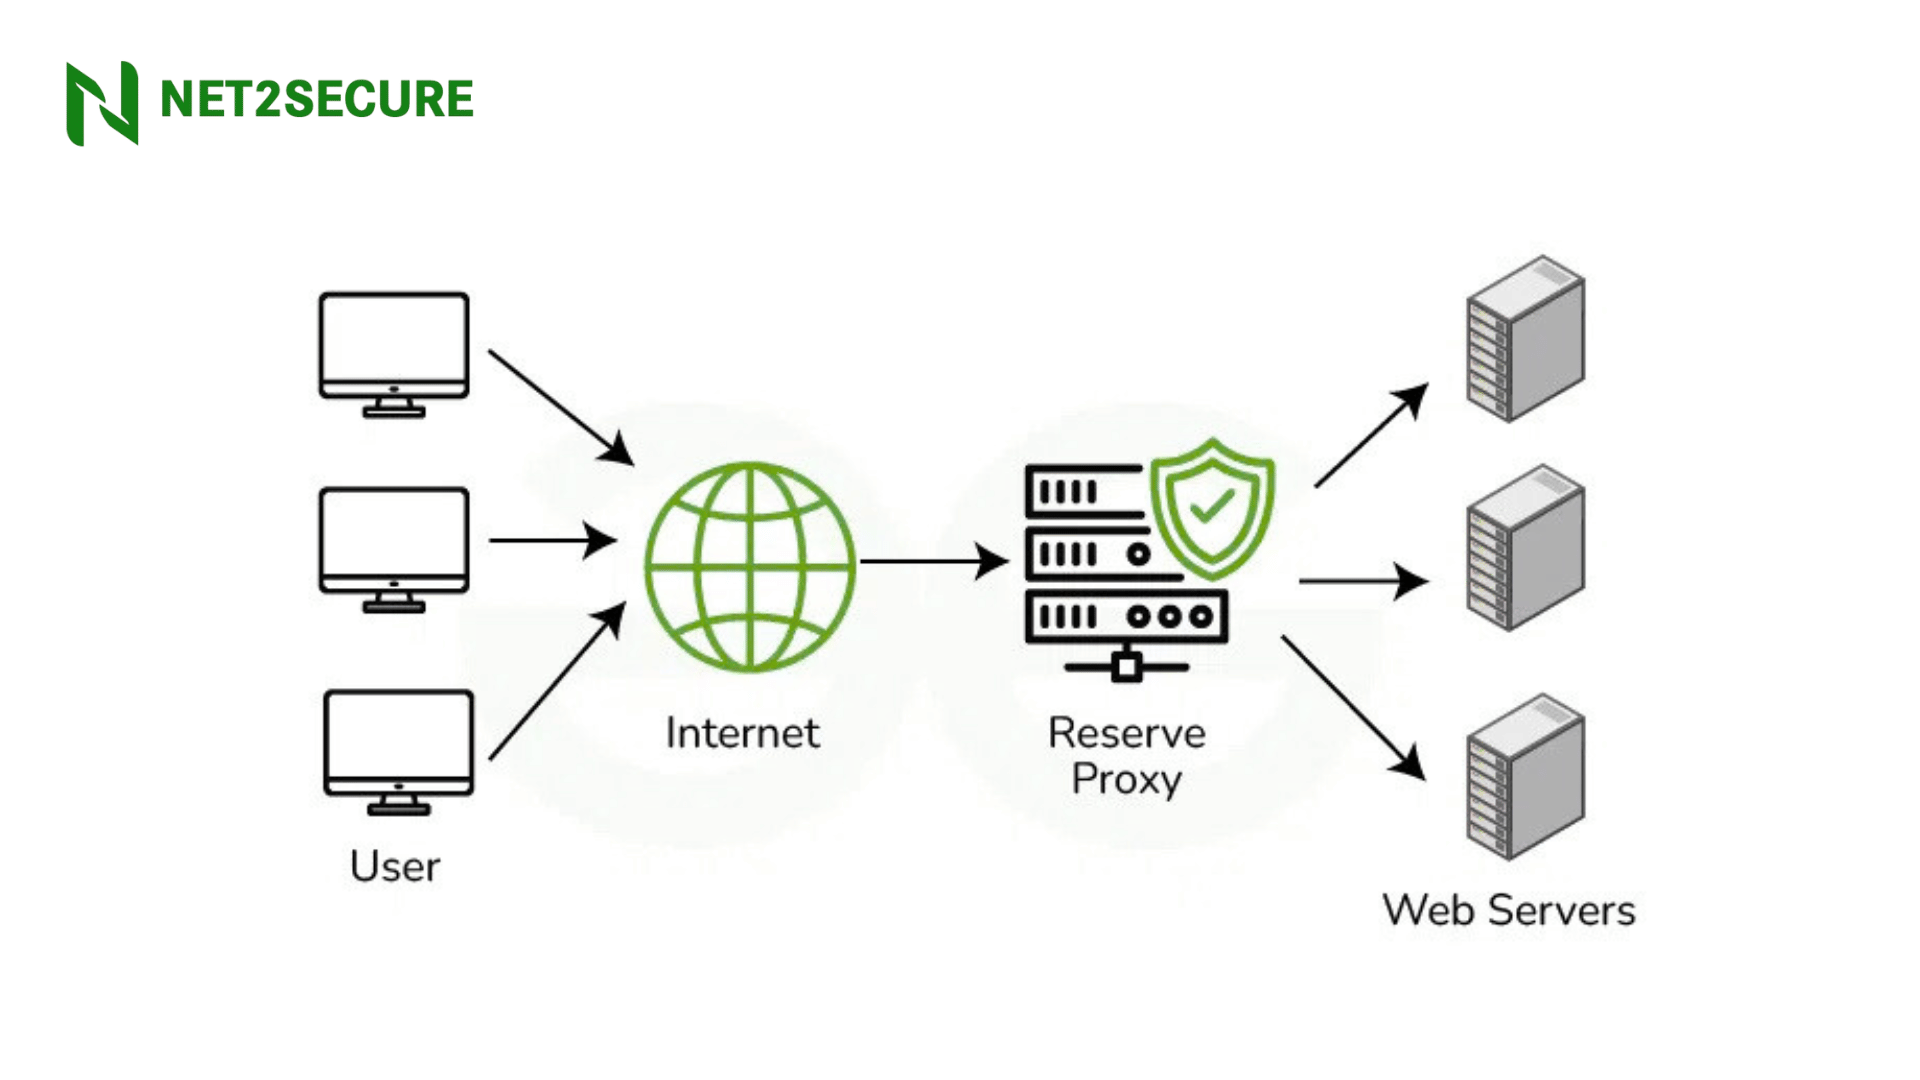
A localhost proxy works as a middle layer between your browser or application and the actual internet. It grabs and forwards requests, helping developers inspect traffic, debug APIs, or test network behavior. For example, Fiddler, Charles Proxy, Burp Suite, and Squid Proxy. When such a proxy manages HTTPS traffic, it must decrypt and re-encrypt data, a process called SSL interception or man-in-the-middle decryption. To make this possible, the proxy uses its own certificate to set up a secure connection with your browser.
If you don’t have a valid SSL certificate, browsers will show warnings like, your connection is not private or certificate not trusted. A self-signed certificate assists in solving this concern in a local setup, enabling encrypted communication and ensuring you can safely test your HTTPS applications.
How to Set Up a Self-Signed Certificate for a Web Proxy on Localhost?
To secure your local web proxy, implement the steps below:
Step 1: Create a Self-Signed Certificate: Run the following OpenSSL command to create a self-signed certificate.
openssl req -x509 -newkey rsa:4096 -keyout key.pem -out cert.pem -days 365 -nodes
-x509: Generates an SSL certificate.
-newkey rsa:4096: Creates a new RSA key of 4096 bits.
-keyout key.pem: Stores the private key.
out cert.pem: Saves the certificate file.
-days 365: Valid for one year.
-nodes: Skips password encryption for easy use.
Step 2: Configure Your Web Proxy to Use the Certificate
If you’re using Squid as a proxy, update its configuration file (squid.conf) like this:
Https_port 3128 cert=/path/to/cert.pem key=/path/to/key.pem
For NGINX as a reverse proxy, modify nginx.conf
Server {
listen 443 ssl;
ssl_certificate/path/to/cert.pem
Ssl_ certificate_key/path/to/key.pem;
}
Step 3: Follow the Self-Signed Certificate
For Linux/macOS, add the certificate to the trusted store:
Sudo cp cert.pem /usr/local/share/ca-certificates/
Sudo update-ca-certificates
For Windows, import the certificate via certmgr.msc
1. Open certmgr.msc
2. Navigate to Trusted Root Certification Authoritie
3. Import cert.pem
Step 4: Test Your Proxy with HTTPS Requests
Once configured, verify that your proxy is working properly:
Curl -x https://localhost: 3128 –cacert cert.pem https://example.com
If there are no SSL warnings, your setup is successful
How Does It Work?
Here are the simplified steps of how a self-signed certificate functions in a localhost proxy setup:
- The browser sends an HTTPS request to a website,
- The local proxy intercepts the request and presents its self-signed certificate to the browser.
- The proxy then establishes another HTTPS connection with the actual website.
- Encrypted data passes through the proxy securely, enabling you to inspect or transform it if required.
This setup certifies that data remains encrypted both ways, even though the certificate is not issued by a trusted authority. However, since the browser doesn’t automatically trust self-signed certificates, you’ll need to manually import and trust the certificate on your local system.
Thus, using a self-signed certificate for a localhost proxy is a crucial practice for developers working with HTTPS applications. It allows secure, encrypted communication while giving you the flexibility to inspect and debug network traffic. Although browsers may not inherently trust these certificates, importing them locally resolves most concerns.


.png)